Colorful Glasses Sleeve

I have been meaning to make a glasses sleeve for my sunglasses for months. I found this fabulous tutorial on Pinterest awhile back and have been slowly gathering materials. Then just yesterday, I was pushed to the task when my adorable dog found and chewed my glasses case while we were at the Amazing Spiderman. Since there is no way I could just casually throw my glasses into my purse like my more durable sunglasses I decided it was time to try the Sweet Verbena Glasses Sleeve tutorial. I pulled out some colorful fabric I had purchased awhile ago with no real purpose for it and found a complimentary lining and got to work.

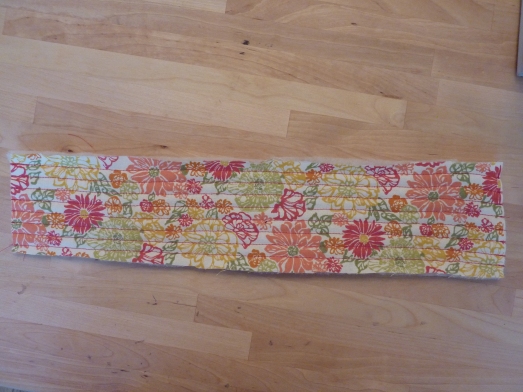
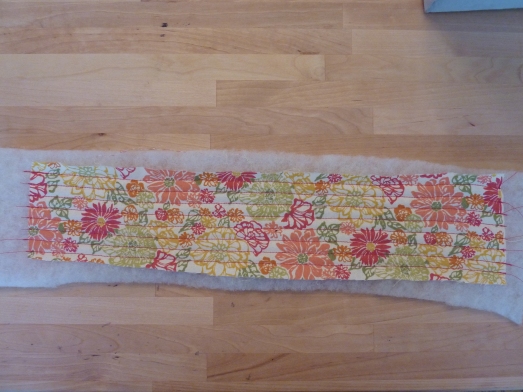
I was most excited to try the quilting because I had never quilted before. I was pleased with the results and loved the red stitching on the colorful flowers.

I liked it even better after I had trimmed the extra batting. And was able to in vision the final product.


Sweet Verbena’s instructions were incredibly easy to follow and soon I found myself the owner of a new and fabulous glasses sleeve.

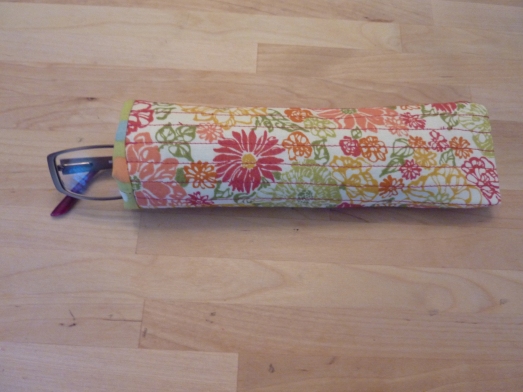
The finished product complete with glasses inside the case.

I love the way the polka dot lining peeks out the top.

The glasses slide in and out with ease.

I am so thrilled with the finished product and how fast and easy it was to make I am going to make one more for my sunglasses and perhaps a couple for friends!

My glasses look so happy with their new case

Eye Mask for Nights at the Museum

In our work at the Nature Museum we sometimes end up spending the night at the museum for overnight events. The events are exhausting and a lot of fun, but not a good nights sleep. On my first overnight I went in prepared with an eye mask to block the safety lights that have to remain on all night and ear plugs to block out the sound of hundreds of people shuffling and snoring in their sleep and the clumping steps of the security guard doing his rounds. I was shocked to find that some of my coworkers were less prepared (ie. no eye mask or ear plugs.) As a huge proponent of a good nights sleep and the owner of a new sewing machine, I decided to try and make an eye mask for my coworker who does the most overnights.

Since Pinterest is an amazing place for crafting projects I started my search for an eye mask tutorial there. I found a number of them and ended up using this one and this one in a choose your own adventure sort of way. I picked the pieces I liked from each and went for it. I started with a trip to JoAnn’s where I picked up some zebra flannel for the front of the mask, a silky black for the part on the eye, some red bias tape and white lacy elastic. I thought the red would really pop against the black and white zebra. I went with the flannel because I wanted it to be cozy and soft.

Once I had all the supplies I traced my trusty eye mask to make a pattern and then cut one piece of zebra and two pieces of the black. I decided to double up the black material because I wanted it to completely block the light. I then sewed them together following Teresa Down Under’s directions minus the embroidered part.  I have not used bias tape since my middle school sewing days, so  I struggled a bit with the narrow bias tape I bought, but all in all am very happy with how it turned out. My coworker  is looking forward to using it at the next overnight.

Have any of you ever made an eye mask? Or do you have tips for how to handle narrow bias tape? I would love to hear about it in the comments.

Feels Like New Pants

When I found the tutorial on making infinity scarves I was also drawn to Merrick’s Wide Leg Trouser refashion tutorial. As soon as I saw it I was thinking of 2 pairs of pants I wanted to try it with. Both pairs have been part of my wardrobe for a long time and I always struggled with the blue Old Navy pair, because I often felt like they were very pajama like.

My Old Navy Pants before the refashio


My tan trousers before the refashion

Above are both pairs of pants before. I did the Old Navy pair first. I carefully followed Merrick’s tutorial. With both pairs of pants I found that I needed to start sewing way higher than I first thought. I always did the right leg first and would start narrowing just above my knee. Then when I finished that leg and put them on to see it looked as though I had bloomers, because the thigh area bulged out above the narrower area below. I just then started narrowing much higher. On my first pair I had to pin and try 3 times. I was working on the second pair on one of those days where I maybe should not have been trying to sew. My sewing machine was having threading issues and it took me about 5 tries. However, the second leg was always a breeze. And it was all worth it, because I simply love how both pairs turned out.

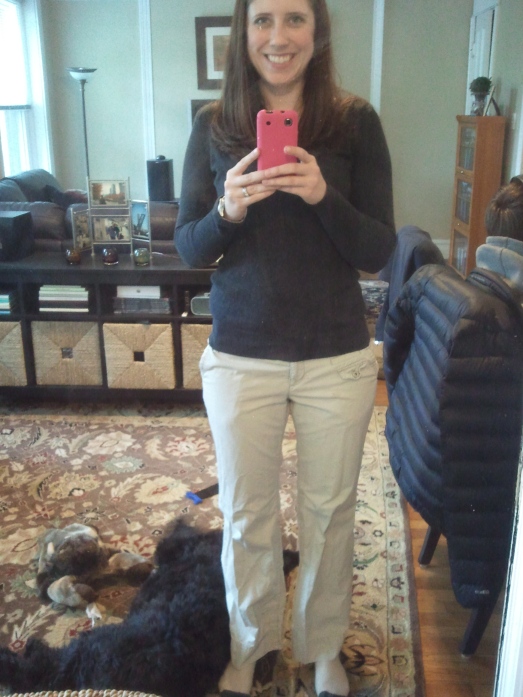
The first day I wore my Old Navy pair a parent in a workshop I was teaching asked me if they were the new pants from J. Crew! I decided that was the best compliment and love that without spending any money I felt like I have two new pairs of pants!

My tan pants after the refashion

My Old Navy pants after the refashion